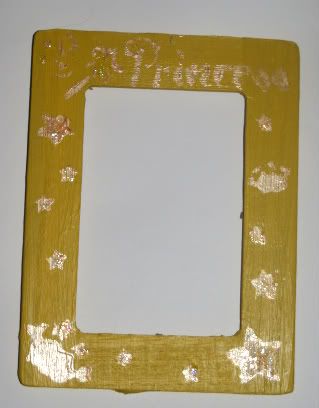
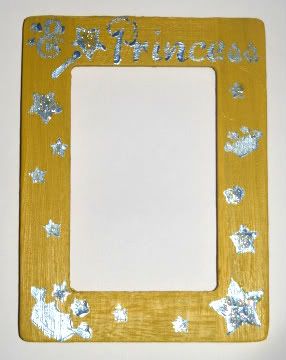
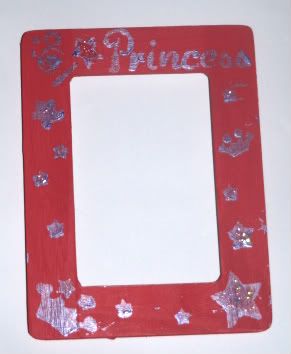
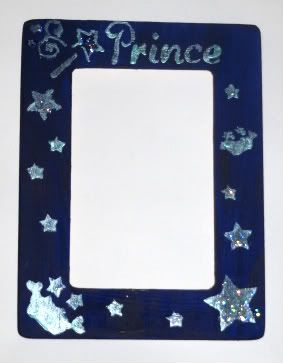
We bought some of the usual sweets and treats for the party bags, but I wanted something especially princess-themed to give to the party-goers. I bought some wooden frames and painted some of them bright pink, some of the dark blue and some of them yellow. I also bought stencils made to fit the frames. The stencil I bought said "Princess" across the top and had stars and crowns on it.
For the yellow frames I tried a peach colored paint for the stenciling on one and a metalic blue for the stenciling on the other one. The blue looked better than the peach color, in my opinion.
For the pink frames, I chose a metallic purple for the stenciling. I liked the way they turned out.
For the blue frames, I didn't stencil the whole word, "Princess." I stopped when it only spelled "Prince," and I used a metallic aqua color for the stenciling. I really liked the way that they turned out.
We took photos of each child as they arrived at the party. (They were wearing costumes.) We then added the photos to the frames as gifts for them to take home with them. We also took some photos of our daughter with her friends as an extra photo for each of them to take home with them to remember the party.
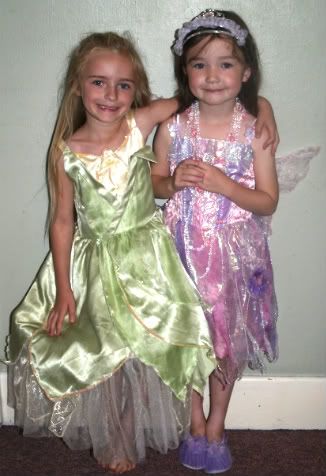
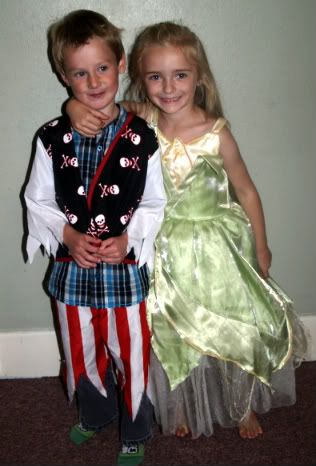
The kids played the usual games such as Pass-the-Parcel and Musical statues.
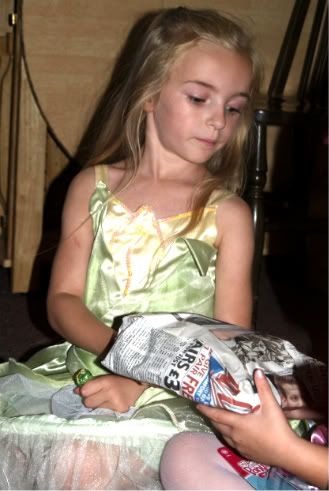
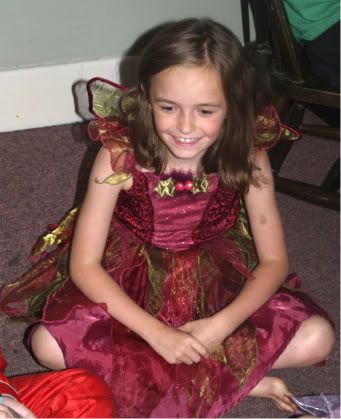
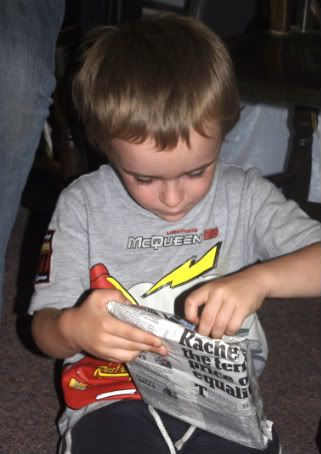
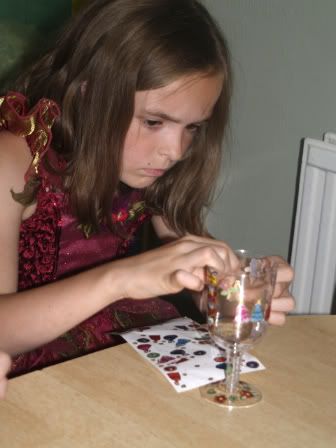
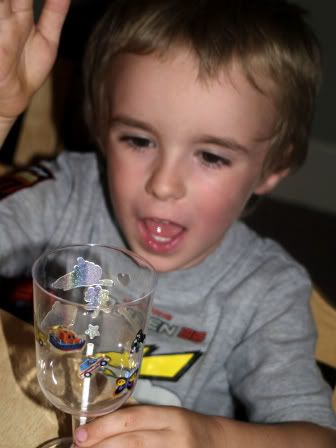
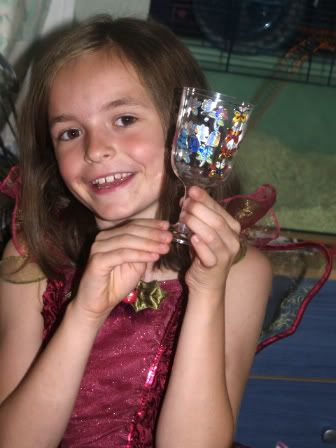
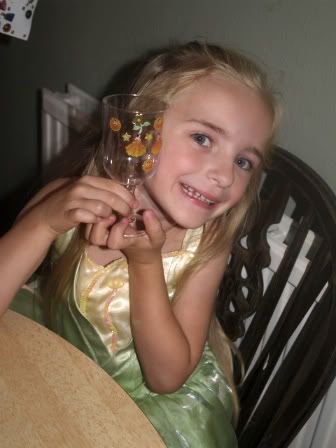
I also wanted some princess-themed crafts for the kids to do. First, they made "royal chalices." I bought some inexpensive plastic wine glasses and a variety of stickers. Because my daughter had invited both boys and girls to her party, I bought some stickers of cars, trucks and emergency vehicles as well as stickers of flowers, butterflies, Disney princesses, hearts and stars. (I would have bought stickers of dragons and knights, but I couldn't find any.) The kids then got to decorate their "royal chalices" with the stickers.
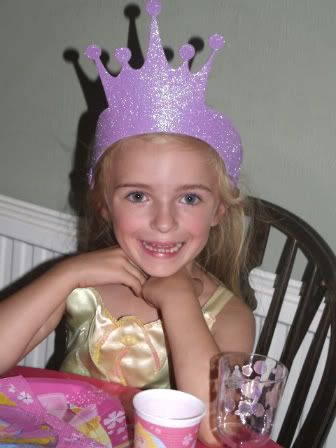
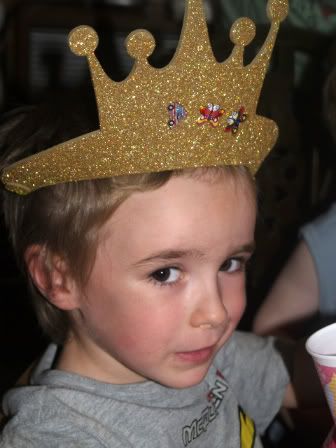
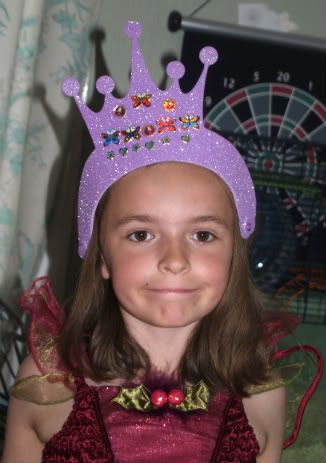
Next, we had some crowns I had bought at the craft store for the kids to decorate with stickers too.
Then we progressed to the food. I wanted to keep it simple, so I had some sausage rolls and pizza that I stuck in the oven and baked beforehand to serve to the kids, and they all seemed to like them.
Last, we moved on to serving the cake and singing "Happy Birthday."
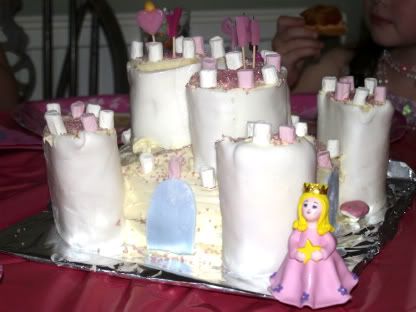
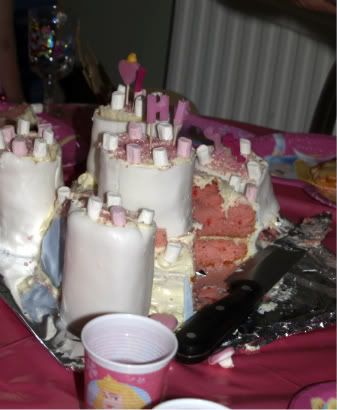
Robert made a simple two-layer round cake and frosted it. He rolled out ready-to-roll icing and wrapped it around some cake rolls which he then cut in two pieces each for the towers. One of the pieces was 2/3 of the cake rolls and the other was 1/3 of the rolls. We used more vanilla frosting to attach the larger halves of the towers to four sides of the round cake and we put three of the smaller ones on top of the cake. He frosted the tops of the towers and added mini marshmallows around the edges of them. He used food coloring to color the left-over ready-to-roll icing, and then rolled it out and cut out windows and doors, using thinly spread frosting to stick them to the "castle."
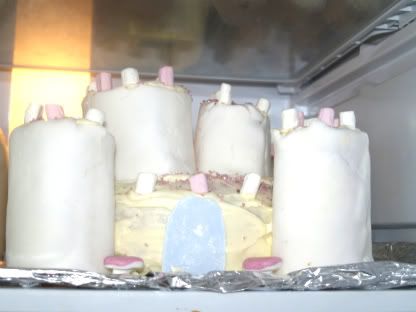
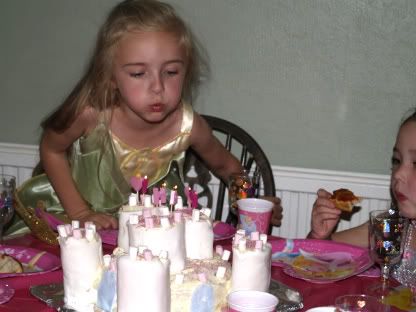
The cake was a big hit!

No comments:
Post a Comment
Comments are under moderation and will show after approval. Anything that is not family-friendly will not be published and spam will be rejected.